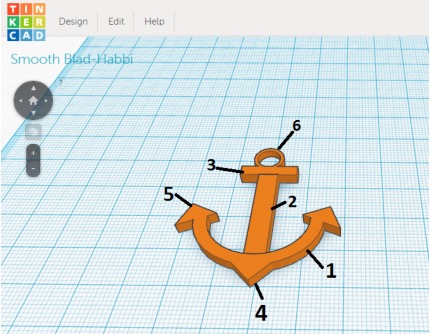
Follow along with the tutorial by text or video to create the TinkerCAD anchor.

Step 1. Select and drag the shape of tube onto the workplane. Scale the sides to the following dimensions: x = 27 mm, y = 32 mm, z = 3 mm.
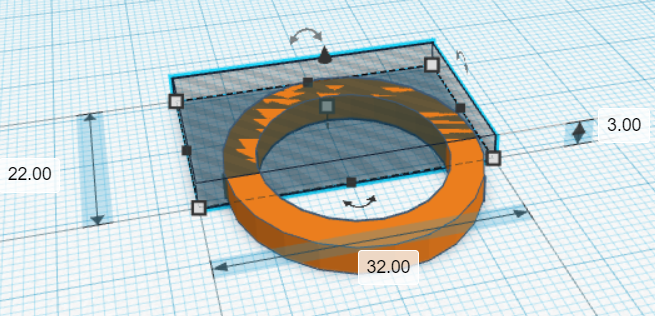
Step 2. Click on the ‘box hole’ shape from the tab section named ‘holes’. Then, drag a new box hole halfway over the thin tube.
Adjust the dimensions of the box hole as shown in the picture: x = 35 mm, y = 22 mm, z = 3 mm.
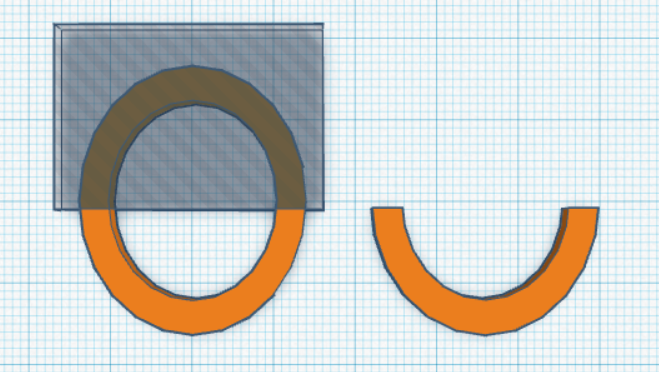
Step 3. Select both shapes, ‘tube’ and ‘box-hole’. (To do this, hold down the shift button whilst clicking on both shapes with the cursor.)
While both shapes are selected, click on the ‘group’ icon at the top of the page. As soon as you do this, the part of the tube that is hidden by the box hole will be erased.

Step 4. Next, add a ‘box’ shape to the workplane. The sizes should be defined as: x = 5 mm, y = 25 mm, z = 3 mm. Place the box in the middle of the tube (part 1).
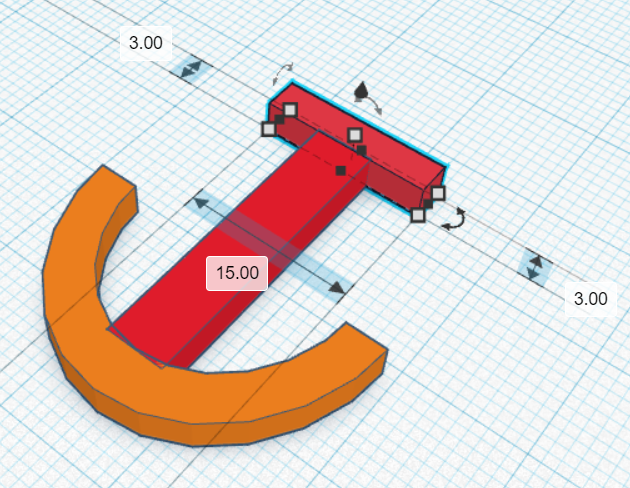
Step 5. Add another box with different dimensions: x = 15 mm, y = 3 mm, z = 3 mm. Place the new box (part 3) to the edge of the previous one.
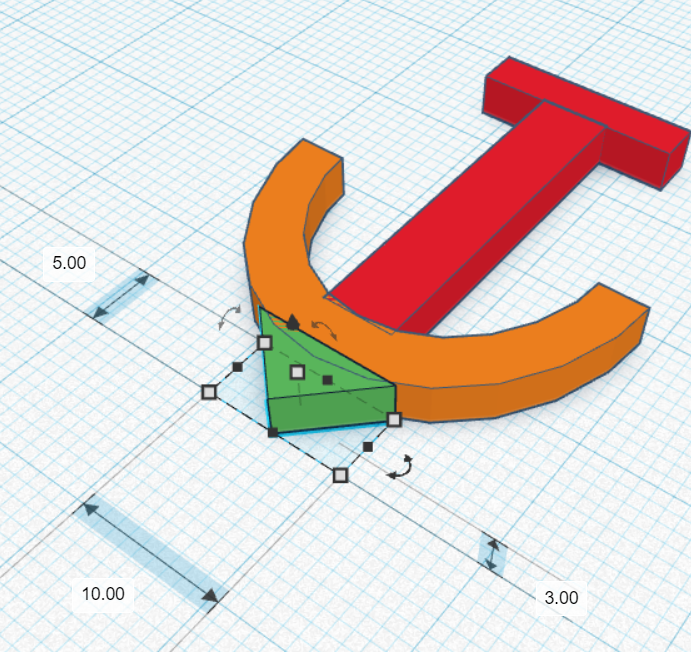
Step 6. Add a ‘roof’ shape. Use the dimensions shown. Position the roof at the bottom centre of the design. Tip: select all of your objects and use the alignment tool to get the bottom tip perfectly centered.
You will need to practice using the rotate tool at this step.

Copy and paste (alt + drag, or ctrl + d) to create two more identical pointed shapes. Drag them into position. Tip: use the mirror tool to create two identically flipped shapes.
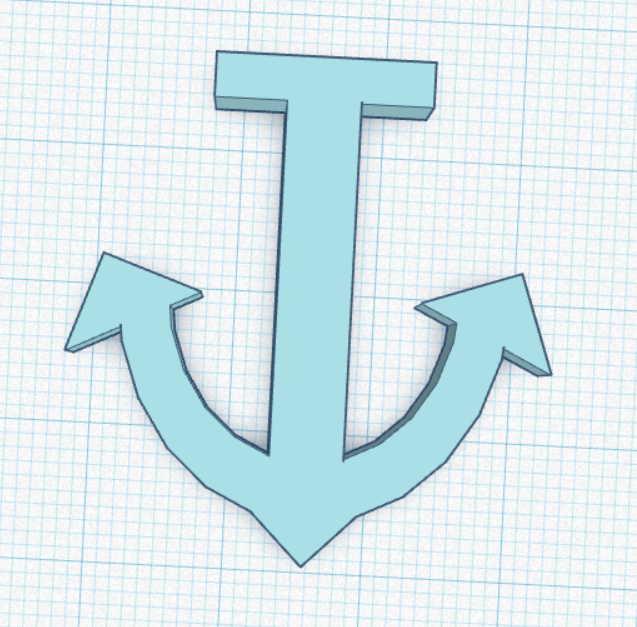
Finally, select all shapes (ctrl +a), and group them (ctrl + g). Select your favourite colour. You did it!
If there are any unexpected lines in your shape, ensure that all objects are the same height and on the same plane.